Introduction
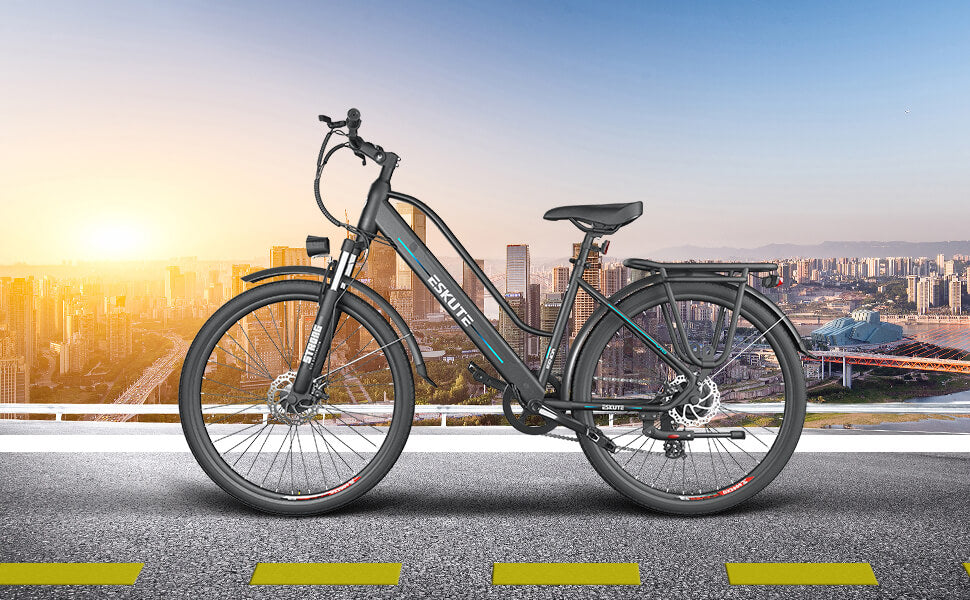
ESKUTE Wayfarer Pro is an electric city bike, it's a new energy way to commute. The reason why we choose city ebike is to quicken your commute, without making you exhausted.
If you still think an e-bike is large and also cumbersome equipment, please reconsider about it. Technology improvements push today's e-bikes to evolve to be light, mobile, and also provide a longer battery power supply and much less charging time. To put it simply: today's e-bikes allow you to ride much faster as well as longer than ever. We would certainly argue that the benefits of E-bikes warrant their large price. They quicken our cycling commutes without tiring our legs and sweating our forehead heavily, also discharge much less pollution than petrol vehicles like motorbikes or cars. Therefore, if you’re still entangled with buying one, it’s the best option for each price factor or circumstance, whether you want to ride on the road or sidewalk.
Unboxing Process
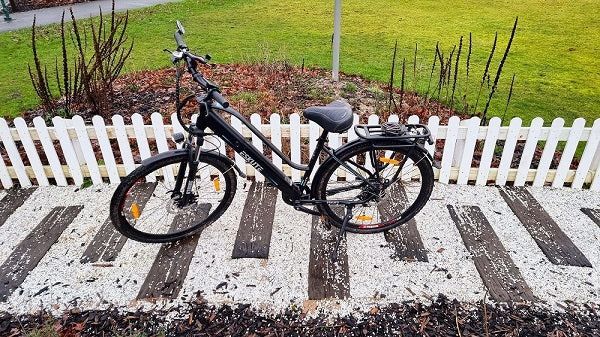
This is the ESKUTE mid-motor bike-Wayfarer Pro, which had been long-awaited.
Okay, now we have everything out of the box, as you can see all of the accessories that come with the bike. There are a few things we need to do before the bike's ready.

First, undo these two screws, and then we need to turn around all the way, facing forward before putting the bars on. We need to make sure this is facing straight and is in the right position. Then tighten one, two and number three.
To put the bars on here we need to loosen these four screws and take us off.

Okay after you take off all the screws, you now need to position the handlebars. This way make sure the screen is facing towards the rider.
When the bars are in place we can then put the four screws back in.

Okay now we need to remove this long bolt this is only for packaging, so we need to remove this and then we can position the wheel into place.
Out of the box, the wheel comes with some more packaging to just protect the wheel, so we need to remove these and then throw them away. Now it's time to put the wheel inside.

So when you put the wheel inside make sure this brake pad is on either side of the disc brake. Now insert the long quick release bolt through the hub of the wheel, be sure that we have two springs on either side of the wheel. Make sure that goes there and then we can then tighten the nut on top.
Now it's time to attach the mudguard, so first start with these two screws, one each side you need to remove those, and then on the other side, and then insert the mudguard through this way through the forks over the wheel and then position into place.

And we have this middle screw, we just take this off, use that key if you need to.
And then position we have either side of the bolt, position the mudguard, and then you can start to tighten it up, but also, we need to add the light onto the front.
So position the light, and then once that's in place. We can then put the mudguard on the backside, just using the bolts provided. Okay once you've finished putting on all of the wheel and the mudguard, it's now time to put the pedal onto the bike. So on the bike on the pedal we have which means for right and l for left. Okay position the pedal, and then you can just use your fingers to tighten onto the bike. When your fingers aren't strong enough anymore, we can then use the spanners provided. Remember righty tighty lefty loosey.

And then the same again just turn the bike around, and then you can attach the left pedal, and then for the left side you need to do the opposite of the other side, so lefty is tidy.

So now it's time to try charging the bike, to charge the bike you can do it two ways with the battery on the bike or you can take the battery off. Which I'll show you afterwards so just take a plug insert into the battery and then you'll see the light will turn red to show that it's charging. Okay now it's just time to check the battery, just press the power button and you should see the lights come on on the screen, and you can also check the front light. If you hold the button for the light, you'll see the screen will light up and then on the front of the bike, we have the light down here. So after you've done all of these things the bike is now completed.
Also you can watch unboxing video of the ESKUTE wayfarer pro city bike from YouTube.


2 comments
Darren Malsom
I recently bought a weyferer of my friend , it was working perfectly , I fitted the throttle to it and still everything was perfect (pedal assist and throttle ) but just recently the pedal assist has stopped working although I still have hand throttle . I disconnected the hand throttle but the pedal assist still doesn’t work . Have you any ideas . Darren
Michael
What side should the lever on the pin that goes through the front wheel be on, should it be on the same side as the brake disc or on the other side of the wheel
Leave a comment
This site is protected by hCaptcha and the hCaptcha Privacy Policy and Terms of Service apply.